

The Philidor position is a drawing method for the defending side in a rook-and-pawn versus rook endgame. Put your king in front of the pawn, keep your rook on the third rank from your side to stop the attacking king, and wait. Only after the pawn advances to the sixth rank do you retreat the rook and begin checking from behind.
Use Back and Forward on the interactive board to replay that timing rule. The current FEN is copyable at every step. The full board continues from the original setup, with you defending as Black against either Endgame Student or Endgame Master.
What makes this a Philidor position?
The starting position uses a white king on f5, white pawn on e5, and white rook on h7. Black has a king on e8 and rook on a6. White owns the extra pawn and wants to promote it. Black is defending, and the Syzygy tablebase classifies the position as a draw.
The important relationships are more useful than the exact squares:
- The defending king occupies the pawn's promotion square.
- The defending rook controls the third rank from the defender's side. For Black in this example, that is the sixth rank.
- The extra pawn has not advanced beyond the fifth rank.
- The attacking king has not crossed the rook barrier.
Those relationships prevent White's king from reaching the sixth rank in front of the pawn. The white rook can give checks or make waiting moves, but it cannot remove the barrier without giving Black another defensive resource.
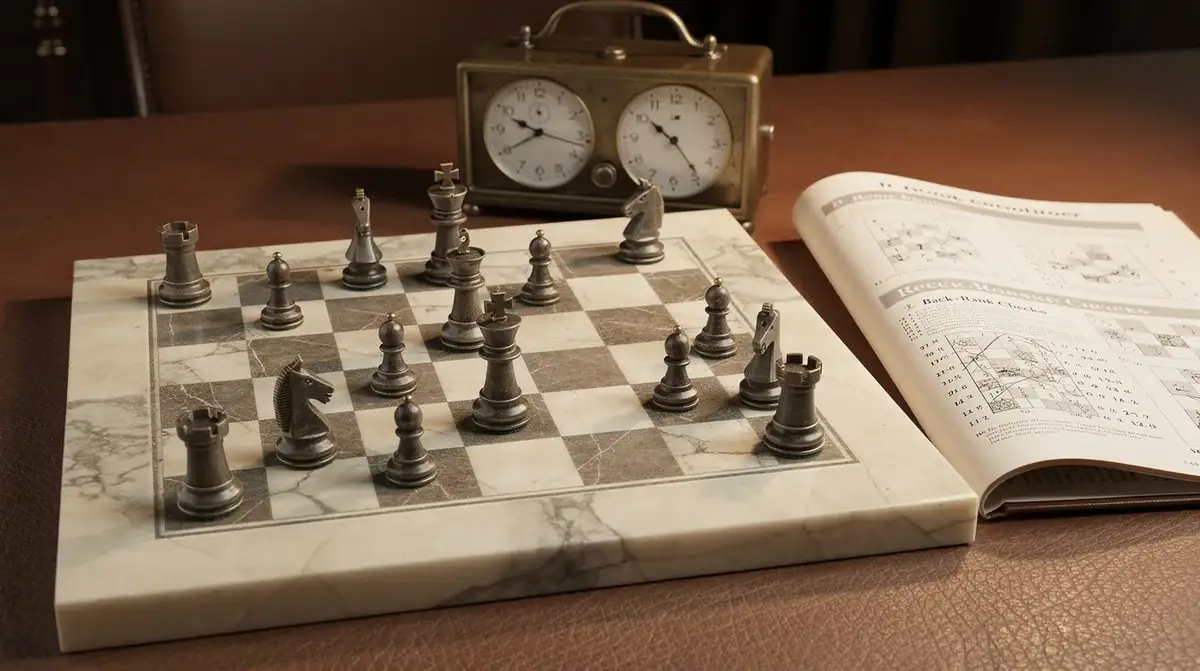
Position to remember: 4k3/7R/r7/4PK2/8/8/8/8 w - - 0 1. The Syzygy tablebase result is a draw. The board is shown from Black's side because the learning goal is to defend.
Why the third-rank barrier works
The attacking king is the piece that can force the defending king away from the promotion square. Black therefore uses the rook to deny the king access to the sixth rank. In the lesson position, a rook anywhere safe on the sixth rank can act as a horizontal fence.
Black should not hurry. As long as White keeps the pawn on e5, that pawn can shelter the king from checks given too early. The rook barrier solves a different problem: it stops the king from moving forward. A quiet rook move along the sixth rank is often all Black needs while White searches for progress.
The method changes when White plays e6. Now the king and pawn occupy neighboring files on the same rank. The pawn no longer provides the same cover against checks from the rear. That is the moment for ...Ra1!, followed by checks such as ...Rf1+, ...Re1+, and ...Rd1+.
The two-phase memory rule
- Block: keep the defending king on the promotion square.
- Fence: hold the third rank and deny the attacking king entry.
- Wait: move the rook along that rank while the pawn stays back.
- Trigger: watch for the pawn advancing to the sixth rank.
- Check: retreat to the back rank and check the exposed king from a distance.
This is a timing rule, not a command to put the rook on one memorized square. The board can be mirrored and the pawn can stand on another file. Count the ranks from the defending side and check whether the same geometry exists.
Why the timing matters
The defender has two jobs, but one rook cannot perform both jobs from the same square forever. Before the pawn advances, the rook must stop the king. After the pawn advances, the rook must use checking distance. Switching at the correct moment is the whole technique.
A premature rook move is not automatically losing in every version, because rook endgames contain tactical exceptions. It is still dangerous to abandon the barrier without calculating. In a tested alternative from the lesson setup, 1.Rg7 Ra5? leaves the third-rank structure in the wrong way. The tablebase changes to a win for White after 2.Kf6. The king has crossed the barrier while Black's rook is too close to create the same checking distance.
Waiting too long is the opposite mistake. After 1.e6, Black should recognize that the fence has finished its job. Remaining on the sixth rank can let the pawn and king coordinate with tempo. The safe practical cue is simple: pawn back, hold the rank; pawn to the sixth, check from the back.
Common Philidor defence mistakes
1. Counting the third rank from White's side
The name describes the defender's third rank. When Black defends against a white pawn, Black's third rank is the sixth rank on standard coordinates. If White is defending against a black pawn, White's third rank is rank three.
2. Checking before removing the pawn shelter
Checks feel active, but an early check may let the attacking king hide beside or behind the pawn. Hold the barrier first. The pawn advance is what makes distant checking reliable.
3. Moving the rook too close to the king
A checking rook needs room. If it stands too near, the attacking king may approach it while continuing to protect the pawn. Use the far rank whenever the position allows it and keep checking laterally from a safe distance.
4. Treating every rook-and-pawn ending as Philidor
The method is not available when the attacking king has already crossed the barrier, the defending king is displaced from the promotion square, or the rook lacks room to check. In those cases, calculate the position in front of you. Do not force a remembered label onto different geometry.
5. Confusing the endgame with the opening
The Philidor position is a rook endgame technique. The Philidor Defence is also the name of an opening after 1.e4 e5 2.Nf3 d6. They share a name, not a board plan.
How to practice the Philidor position
Replay the interactive line until you can predict Black's next decision before pressing Forward. Do not begin by memorizing every checking square. Recall the two phases: fence first, checks second.
Then choose Endgame Student or Endgame Master. You start as Black from the exact lesson FEN, while the selected opponent controls White and makes the first move. Continue from the starting setup and calculate the game from the board in front of you. The opponent may choose a different legal plan from the demonstrated line, and the normal opponent selector remains available.
After each attempt, ask three questions:
- Was my king still in front of the pawn?
- Had the attacking king crossed my rook barrier?
- Had the pawn reached the rank that removes its shelter?
Play until the game reaches a draw, checkmate, or another logical ending. If a move loses, copy that position's FEN and inspect the exact moment when the two-phase plan stopped working.
In the Philidor position, defend in two phases. Keep the rook on the third rank until the pawn advances, then retreat and check the exposed king from behind. The pawn push is your trigger to change jobs.
What to study after Philidor
Philidor explains how the weaker side saves the game before the attacking king crosses the barrier. The natural companion is the Lucena position, where the stronger side has made more progress and wins by building a rook bridge.
Knowing both positions gives you a practical map. When defending, aim for the Philidor setup before the pawn reaches the sixth rank. When attacking, try to avoid that fence and work toward Lucena geometry. Continue in the Endgame School for complete positions, or open Play Positions to test a copied FEN.
How this article was checked: Olivers Grants wrote the lesson for practical chess learners. Developer and ML researcher Uldis Briedis reviewed the implementation. Every displayed move was replayed for legality with chess.js. The starting result, every lesson position, and the stated mistimed-rook exception were checked against the Syzygy tablebase.